Somewhere around the fourth revision of the battery cradle, I stopped thinking of the 3D printer as a prototyping tool and started thinking of it as what it had actually become: the factory for a working aircraft. The survey drone that flies our magnetometer is held together by a family of eighty-odd printed parts — every clamp, cradle, coupler, tray, and fairing on it — designed in the morning, printed overnight, flown that week.
The Part Family
An instrument drone is mostly a plumbing problem: carbon tubes of three different diameters have to carry sensors, data loggers, GPS pucks, and landing gear, and nothing off the shelf fits anything else. The printed family solved it as a system:
- Tube clamps in every permutation — 26 to 22 millimeter, 26 to 20, T-junctions, offset ninety-degree joints — each in one-bolt, two-bolt, and lattice-lightened variants.
- Payload furniture — the data-logger saddle and tray, GPS bases, radar mount, all indexed to the same tube standards so the layout can be rearranged in the field with one hex key.
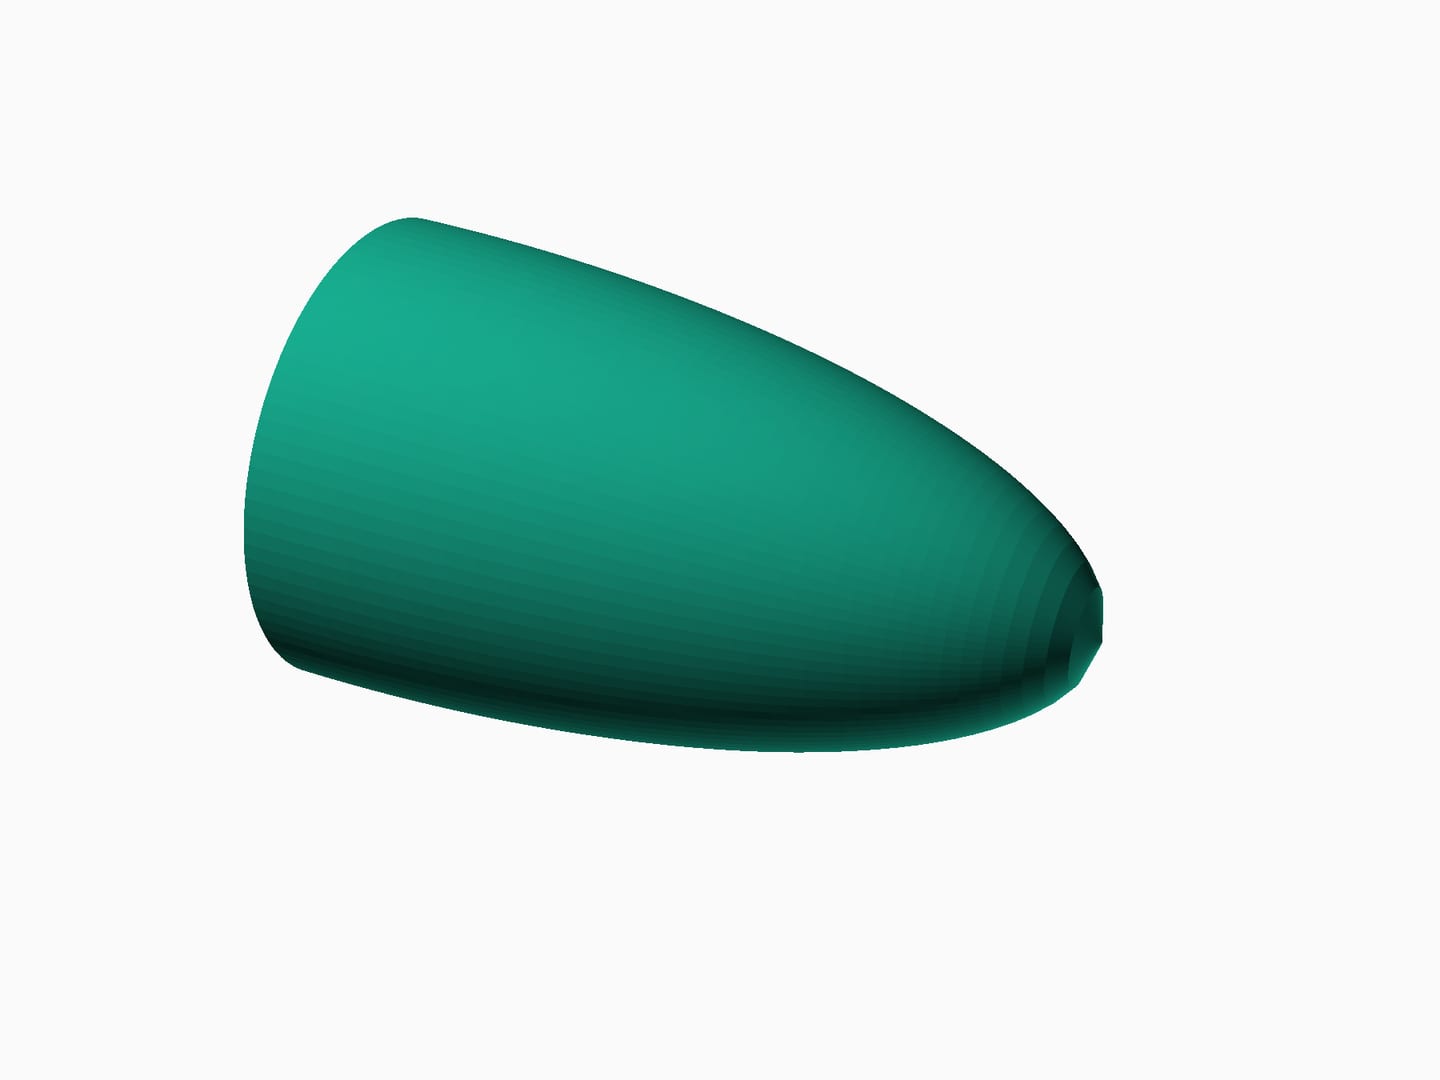
- The magbird — a towed sensor pod with a printed nose cone, fin hub, fins, and suspension yoke, aerodynamic enough to fly straight and magnetically clean enough to be worth towing.
Material Is a Decision, Not a Default
Everything structural prints in PETG: hot end around 245°C, four perimeter walls, gyroid infill in the thirties of percent. PLA is stiffer off the printer and prints prettier, but a black part on a drone in Colorado sun goes soft at temperatures a July truck cab reaches routinely. PETG keeps its shoulders at temperature, flexes before it shatters, and grips nylon bolts well enough to trust under vibration. (There is also the project's stranger requirement — the whole kit had to be non-magnetic, which ruled out every steel insert and fastener the maker world is built on. Plastic thread, nylon bolts, brass only when unavoidable, and never near the sensor.)
The lightweighting deserves its own confession: the prettiest parts in the kit — clamshell connectors with organic Voronoi lattices, some cut to sixty-five percent of their original mass — were generated by script, not sculpted. A small Python program grows the cell pattern around each cylinder; the print settings, worked out with an AI assistant and logged in the project config, make them printable without supports. They look like bone because they are solving the same problem bone solves.
Revision Is the Method
The file names tell the real story: battery_cradle, battery_cradle2, battery_cradle3, battery_cradle4. A clamp at rev41. The honest lesson of printing functional parts is that the third revision is where designs start being good — the first fits the drawing, the second fits the part, the third fits reality: the strap you didn't model, the connector that needs a thumb's width of clearance, the PETG shrinkage that turns a snug bore into a hammer fit.
Desktop printing makes that loop almost free. A revision costs a coffee's worth of filament and a night of machine time, which changes the psychology of engineering: you stop defending designs and start spending them. When the kit stabilized, production was one folder of files with quantities in the names — four strut clamps, eight T-clamps, one magnetometer mount in PETG — reproducible by anyone with the same printer, anywhere there's a wall socket.
That's the quiet revolution, and it has nothing to do with novelty printing. A one-person operation fielded a research aircraft with custom flight hardware, iterated it through dozens of revisions, and can rebuild any broken piece of it tomorrow morning. The factory is the size of a bread machine, and it sleeps in the workshop.